Nothing makes you feel like you’ve got your shit together more than a fresh manicure. But the shine that shellac and gel sets offer can be quick to fade when you’re met with the maintenance, especially when you can’t get an appointment to remove or redo grown-out polish.
Don’t pick at them – that’s founder and owner of The Parlour Room Natalie Ferrari’s biggest tip. “Removing polish safely is the key to maintaining healthy, strong nails. It can be tempting to pick at bits that start to lift away but this can damage the nail bed, which leads to a long recovery time,” she tells Broadsheet over email.
Follow these steps to keep your nails in the best condition until your next appointment.
Step one: prep the polish
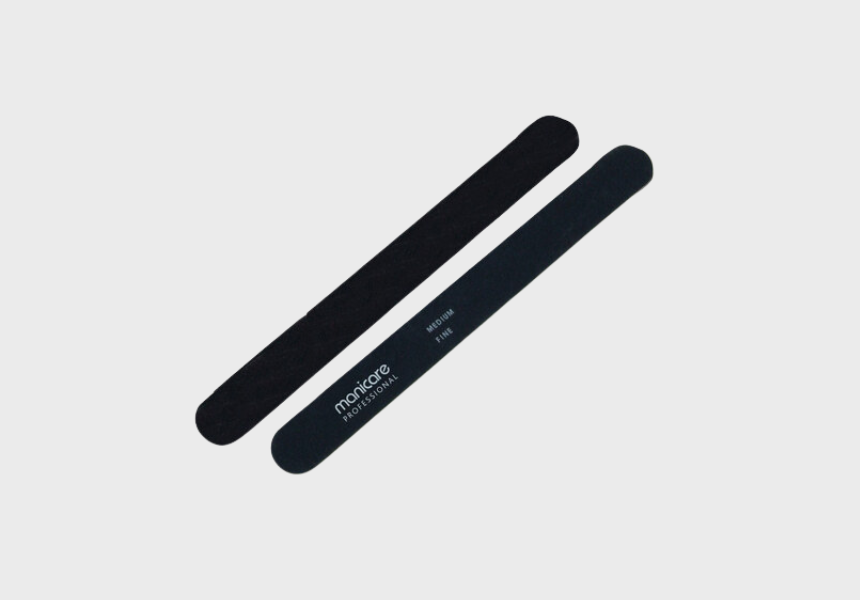
Using a nail file, gently buff away the shiny layer of hard-to-dislodge polish until it takes on an opaque appearance. This will allow the acetone to penetrate. Be careful not to file down to your actual nail – using a softer cardboard emery board rather than a harsh metal file will ensure you don’t go too far.
It’s best to complete the next few steps one hand at a time.
Step two: acetone away
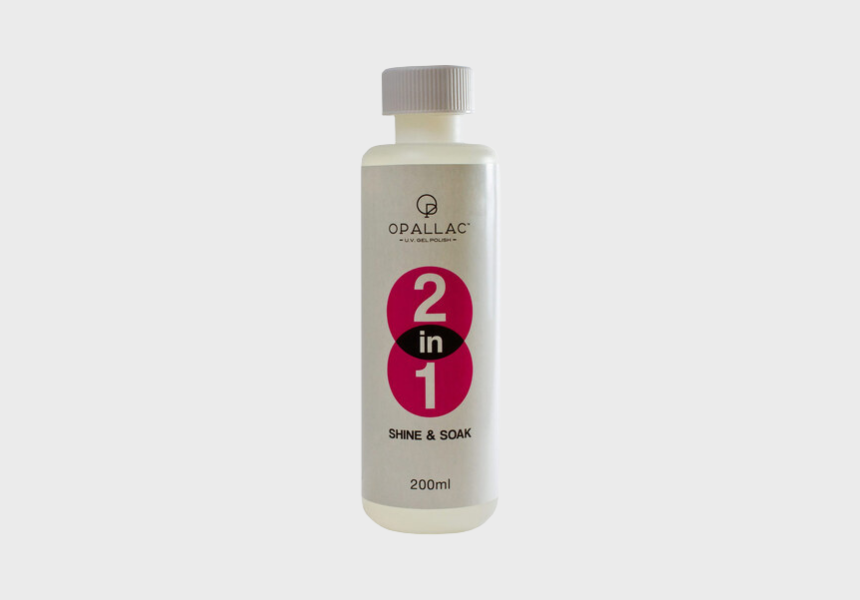
Soak five cotton balls in nail-polish remover. Any remover with an acetone content of 60 per cent or more will work, but it’s best to find one designed to remove shellac or gel polish, as it will be less harsh on your skin and nail beds. Pure acetone is also very effective, but it can be drying to your skin and nail beds.
Place a cotton ball over each nail, then wrap a foil square over the top of the finger to keep the cotton ball in contact with the shellac or gel layer. Let the nail soak for 10 to 15 minutes, or until you start to see the polish flake off at the edges.
Repeat with the other hand.
Step three: remove and repeat
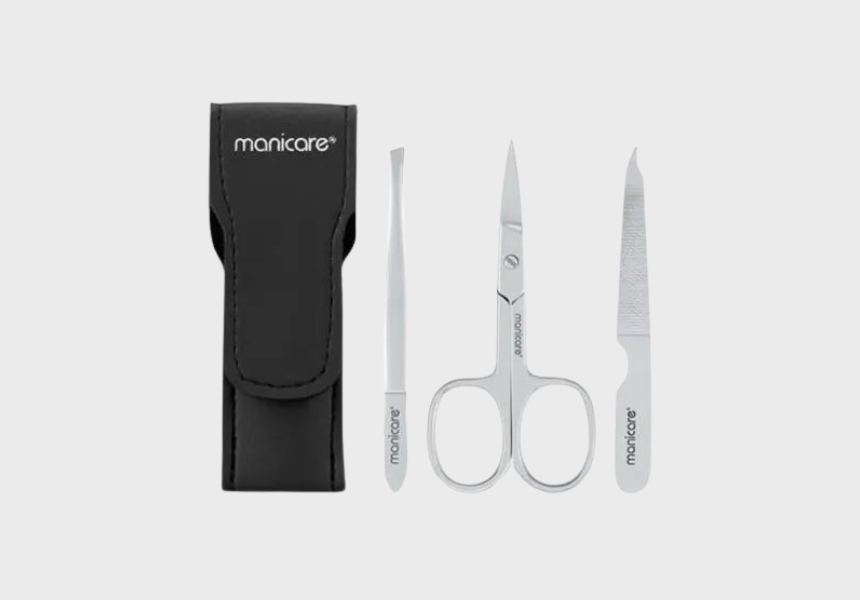
With a wooden cuticle stick, push the flakes of gel away from the nail – try not to dig into the nail, or scratch its surface. It’s best to use wooden cuticle sticks rather than metal, as they’re less harsh on your natural nail surface.
If stubborn sections of the polish won’t budge, simply pop the foil-and-cotton-ball combo back on the remaining polish and soak for another five minutes, or until you can remove the additional layers more easily.
Step four: rinse and repair
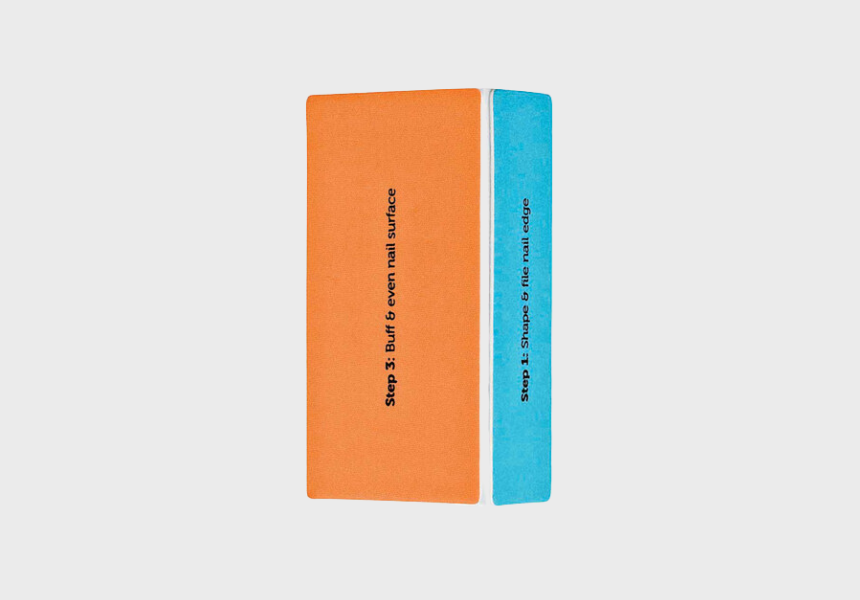
Using a soft nail buffer (not an emery board), buff the surface of the nail to remove any remaining glue and smooth out the natural nail surface.
Trim and file the nails, then wash your hands and dry.
Step five: moisturise
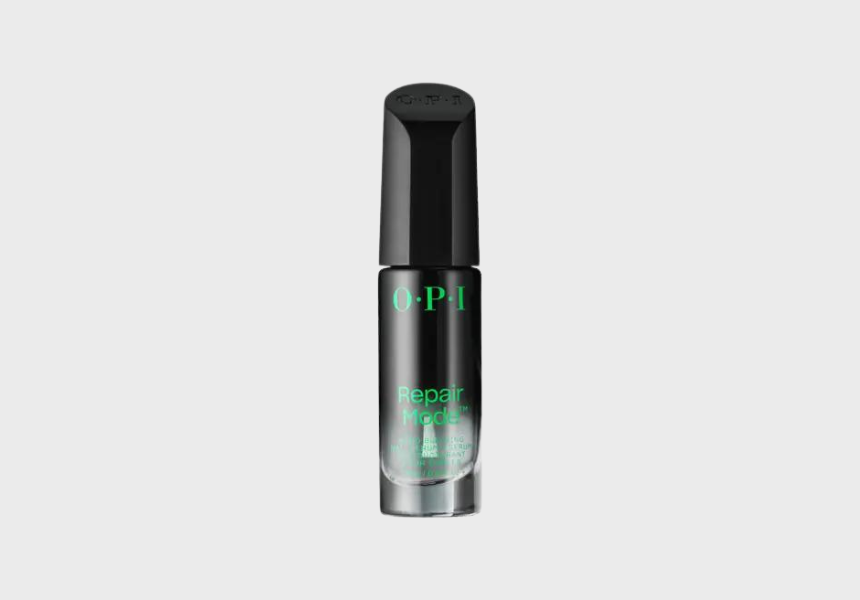
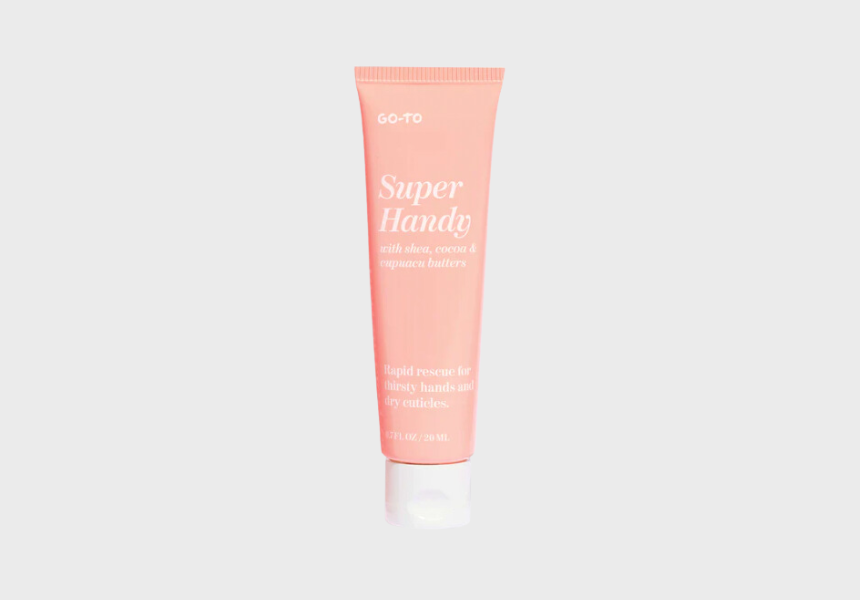
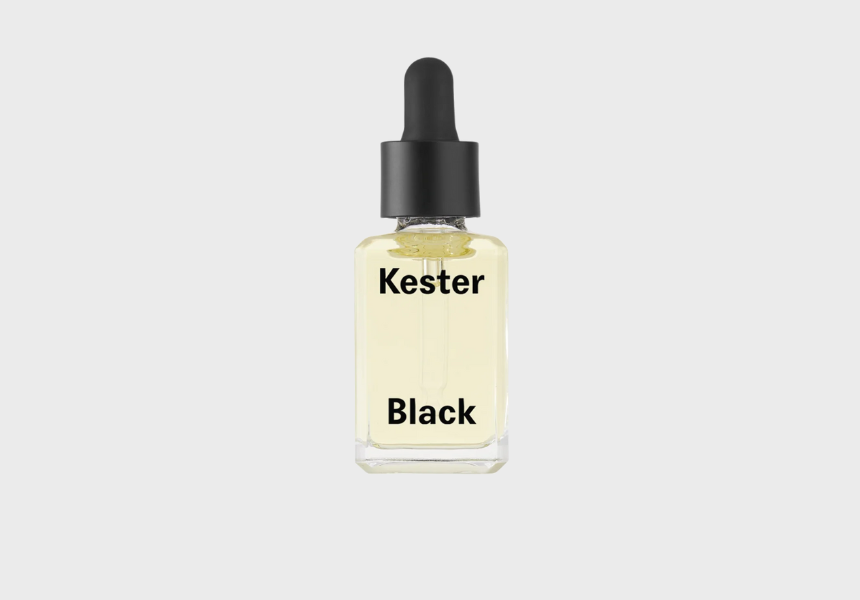
If your hands are feeling sapped of moisture (and you’re not applying polish again straight away), moisturise with a good quality hand cream, or try a hand mask. You can also apply cuticle oil to the nail beds.
Parisian brand The Manicurist specialises in at-home gel manicures if you’re looking to cut back on appointments all together. And if you want more DIY salon inspiration, we’ve rounded up the best LED masks, deep-cleansing devices, lash lift kits and hair tools to invest in.
This article was originally published in April 2020 and has since been updated. Additional reporting by Alice Jeffery.
We hope you like the products we recommend on Broadsheet. Our editors select each one independently. Broadsheet may receive an affiliate commission when you follow some links.


