Looking to save money by skipping the daily coffee runs? That doesn’t have to mean depriving yourself of a good cup in the morning. Making cafe-quality coffee at home is easy and surprisingly affordable, if you know how.
Here, we present five of the most common, readily achievable ways to brew. For the most part, these methods produce lighter-bodied, filter-style coffee, which doesn’t pair all that well with milk. But if you’re a latte loyalist, we’ve got a great gizmo for you too. It’s time to order some fresh beans, dig out that old coffeemaker, and finally master it.
We’ve kept this guide as simple and beginner-friendly as possible, but if you come across a word you’re unfamiliar with, our extensive coffee glossary might help.
Before you start, there are three basics to consider.
1. Choose the right coffee
For most of these manual brew methods, opt for a light or filter-roast coffee. Lighter roasting highlights a coffee’s unique characteristics and produces a bright-tasting cup. Talk to your roaster about what you like in a coffee and see what they recommend.
If you’re ordering more than a week’s worth of beans, think about how you’re going to store them. Oxygen and sunlight are enemies of freshness, so once you open up a bag, transfer the contents to a solid, airtight container to stop it ageing prematurely. This Atmos jar has been designed specifically for keeping coffee, and has a vacuum pump to remove excess oxygen. Otherwise, beans store well in the freezer and won’t stick together.
2. Grind fresh
Nailing the perfect grind is the biggest challenge in making coffee, regardless of which method you’re using. Here, we’re employing a one-through-10 scale as a guide to grinding, one being very fine (like table salt) and 10 being very coarse (like breadcrumbs). Experiment with grind texture to achieve your preferred results.
The best-tasting coffee is always made by grinding on the spot. Order whole beans (they’ll last longer), and invest in a decent grinder that allows you to adjust the output so you can just grind the amount you need. For home-brewing, a hand-operated grinder is fine, and adds a mini workout to your morning routine.
3. Practice precision
Nothing’s more frustrating than brewing a spectacular cup one day and totally messing it up the next. Scales and a timer are helpful in this respect. If you have digital kitchen scales that can measure tenths of a gram, use those, as well as your phone’s timer. Or you can upgrade to coffee scales with a built-in timer. Note: in the methods below, water is measured in grams. If you don’t have scales, one millilitre of water is roughly equal to one gram.
Methods
1. V60/pour-over/filter cone (see below)
2. Aeropress
3. French press/plunger
4. Moka pot/stovetop
5. Moccamaster
V60/pour-over/filter cone
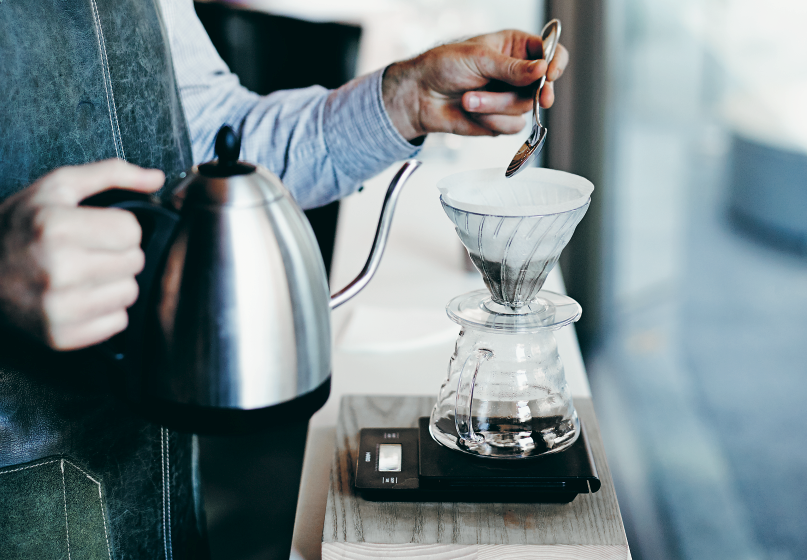
Filter cones are favoured for clarity of flavour and overall simplicity. They rely on gravity to pull water through the coffee, producing a gentle, light-bodied brew that’s clean and transparent. The simple pour-pause-pour method makes for a meditative morning ritual.
All you’ll need is a cone and disposable paper filter. Cones can be made from plastic, ceramic or glass and come in numerous sizes and styles, but all do more or less the same thing. We like the Japanese-designed Hario V60.
Method
Coffee: 15g
Grind: Medium, 6–7 of out 10
Water: 240–250g, slightly less than boiling (90–95°C)
- Put the kettle on.
- Rinse filter paper and insert into the cone.
- Weigh and grind your coffee, then add to the filter cone.
- Set cone on a mug, position the whole setup on your scales, and zero the scales.
- Start timer.
- Using a pattern of steady, concentric circles (this bit takes practice), slowly pour 50g water over 30 seconds, wetting all the coffee evenly and allowing it to “bloom” (expel excess carbon dioxide).
- Pause for 30 seconds.
- At the 60-second mark, add another 200g of water (over about 30 seconds). Your scales should read 250g.
- Let remaining water drain through, dispose of filter paper and serve.
The whole process should take around two minutes. If it’s taking too long, make your grind a little coarser. Too slow? Grind more finely.
Still too much work? Try the even simpler Clever Coffee Dripper.
Most filter cones only brew one or two cups at a time. If you need more juice, move up to a Chemex. Use a metal filter cone if you’re keen to avoid disposable filter paper.
Aeropress
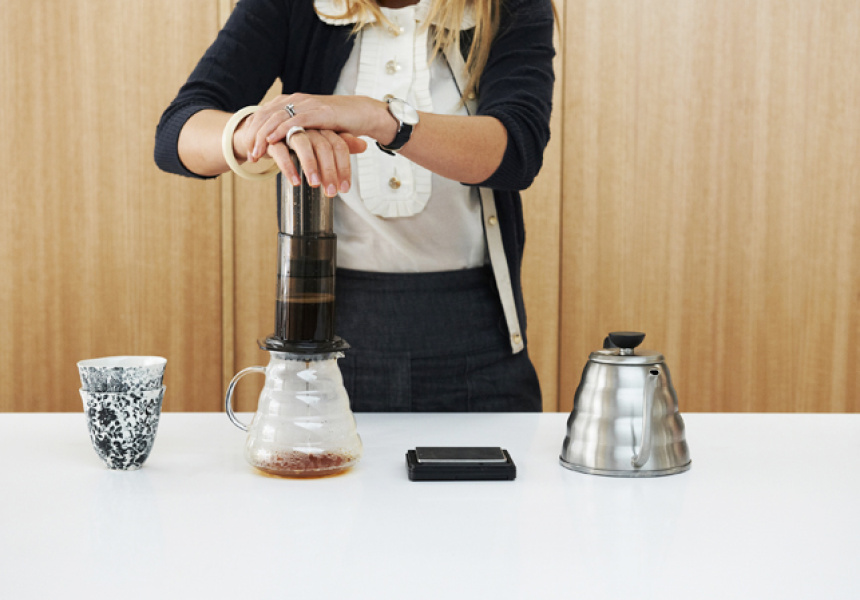
The Aeropress, a two-part plastic tube with a plunger, delivers a similar flavour profile to a pour-over, but with a little extra body courtesy of the press. It’s durable, easy to clean and great for home, camping, travel – anywhere you might think to take it.
An official recipe is included in the box (and can be found online) but, we prefer a harder approach – heavy agitation for maximum extraction, then dilute to taste. This one is based on the technique Dutch barista Wendelien van Bunnik used to win the 2019 World Aeropress Championship.
Method
Coffee: 30g
Grind: Medium, 6–7 out of 10
Water: 240–250g, slightly less than boiling (90–95°C)
- Put the kettle on.
- Rinse the filter paper and insert into the cap (or use a metal filter).
- Stand Aeropress upright on your scales, add coffee and zero the scales.
- Start timer.
- Pour 100g of water in 10 seconds, making sure to wet all the grounds.
- Using the Aeropress stirrer or a long spoon, agitate (stir) briskly for 10 seconds.
- Screw on the cap and carefully press out any excess air.
- At 40 seconds, upend the Aeropress and place it on your serving vessel. (Be sure to use something sturdy.)
- Press down using a smooth, steady action. This should take around 10 seconds and yield roughly 60g of brewed coffee.
- Dilute with another 100g of water (90– 95°C), or to taste.
French press
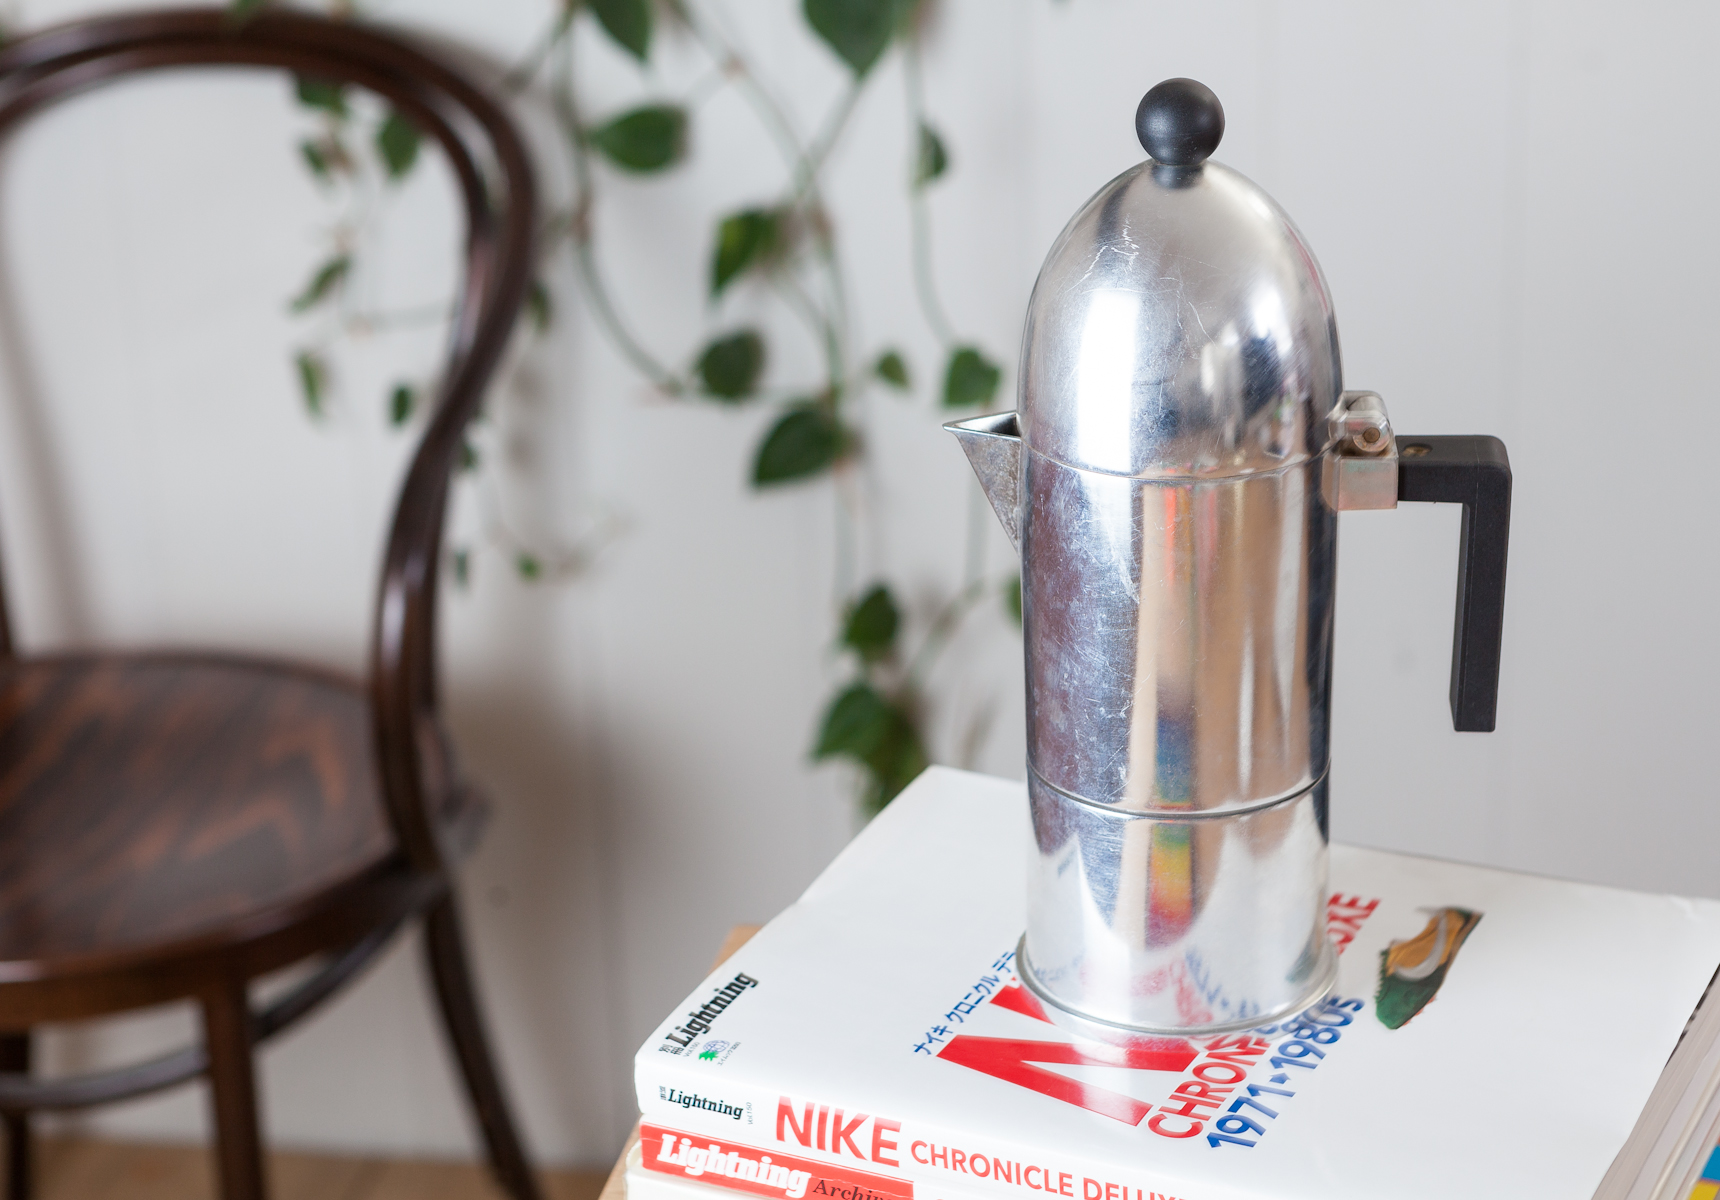
It’s a fancy name for “plunger”. But plunger coffee doesn’t have to be that gravelly sludge your parents served with croissants at breakfast. It’s actually a really enjoyable method for making communal coffee, provided it’s done right. Take things slow, and you’ll do great. The longer steep time used in plunger brewing allows richer flavours to develop. Think rich and brooding compared to, say, a sparkling V60.
Method
Coffee: 60–70g per litre
Grind: Coarse, 8–9 out of 10
Water: Depends on the size of your plunger. Straight from the kettle is fine.
- Put the kettle on.
- Fill plunger with hot water. Once it’s heated through (about 1 minute), transfer the water to serving vessel (mugs, a ceramic jug etc) to give that some heat too.
- Grind coffee and add it to the empty plunger.
- Start timer.
- Pour half the total quantity of water over the coffee, making sure the entire bed is wet.
- After 60 seconds, use a wooden spoon to break up the crust that will have formed on top.
- Let it sit for a further 3 to 7 minutes (see note below), to taste.
- When you’re ready, gently depress the plunger until it’s just on top of the coffee bed. Don’t squish it down.
- Empty the water from your serving vessel(s) and decant your coffee. This will keep it warm but stop the brewing process.
The suggested steep time is a pretty broad range, we know. Four minutes total brew time is what most people recommend, but leaving the coffee to sit for longer not only draws out more flavour, it allows the slurry to settle, yielding a smoother cup. (Don’t worry about it going cold. Filter-style coffee tastes sweeter as it loses temperature.)
Got grit? Espro brewers use a second filter that’s much finer than the average French press filter – allowing full extraction without sediment transferring to your cup.
Moka pot
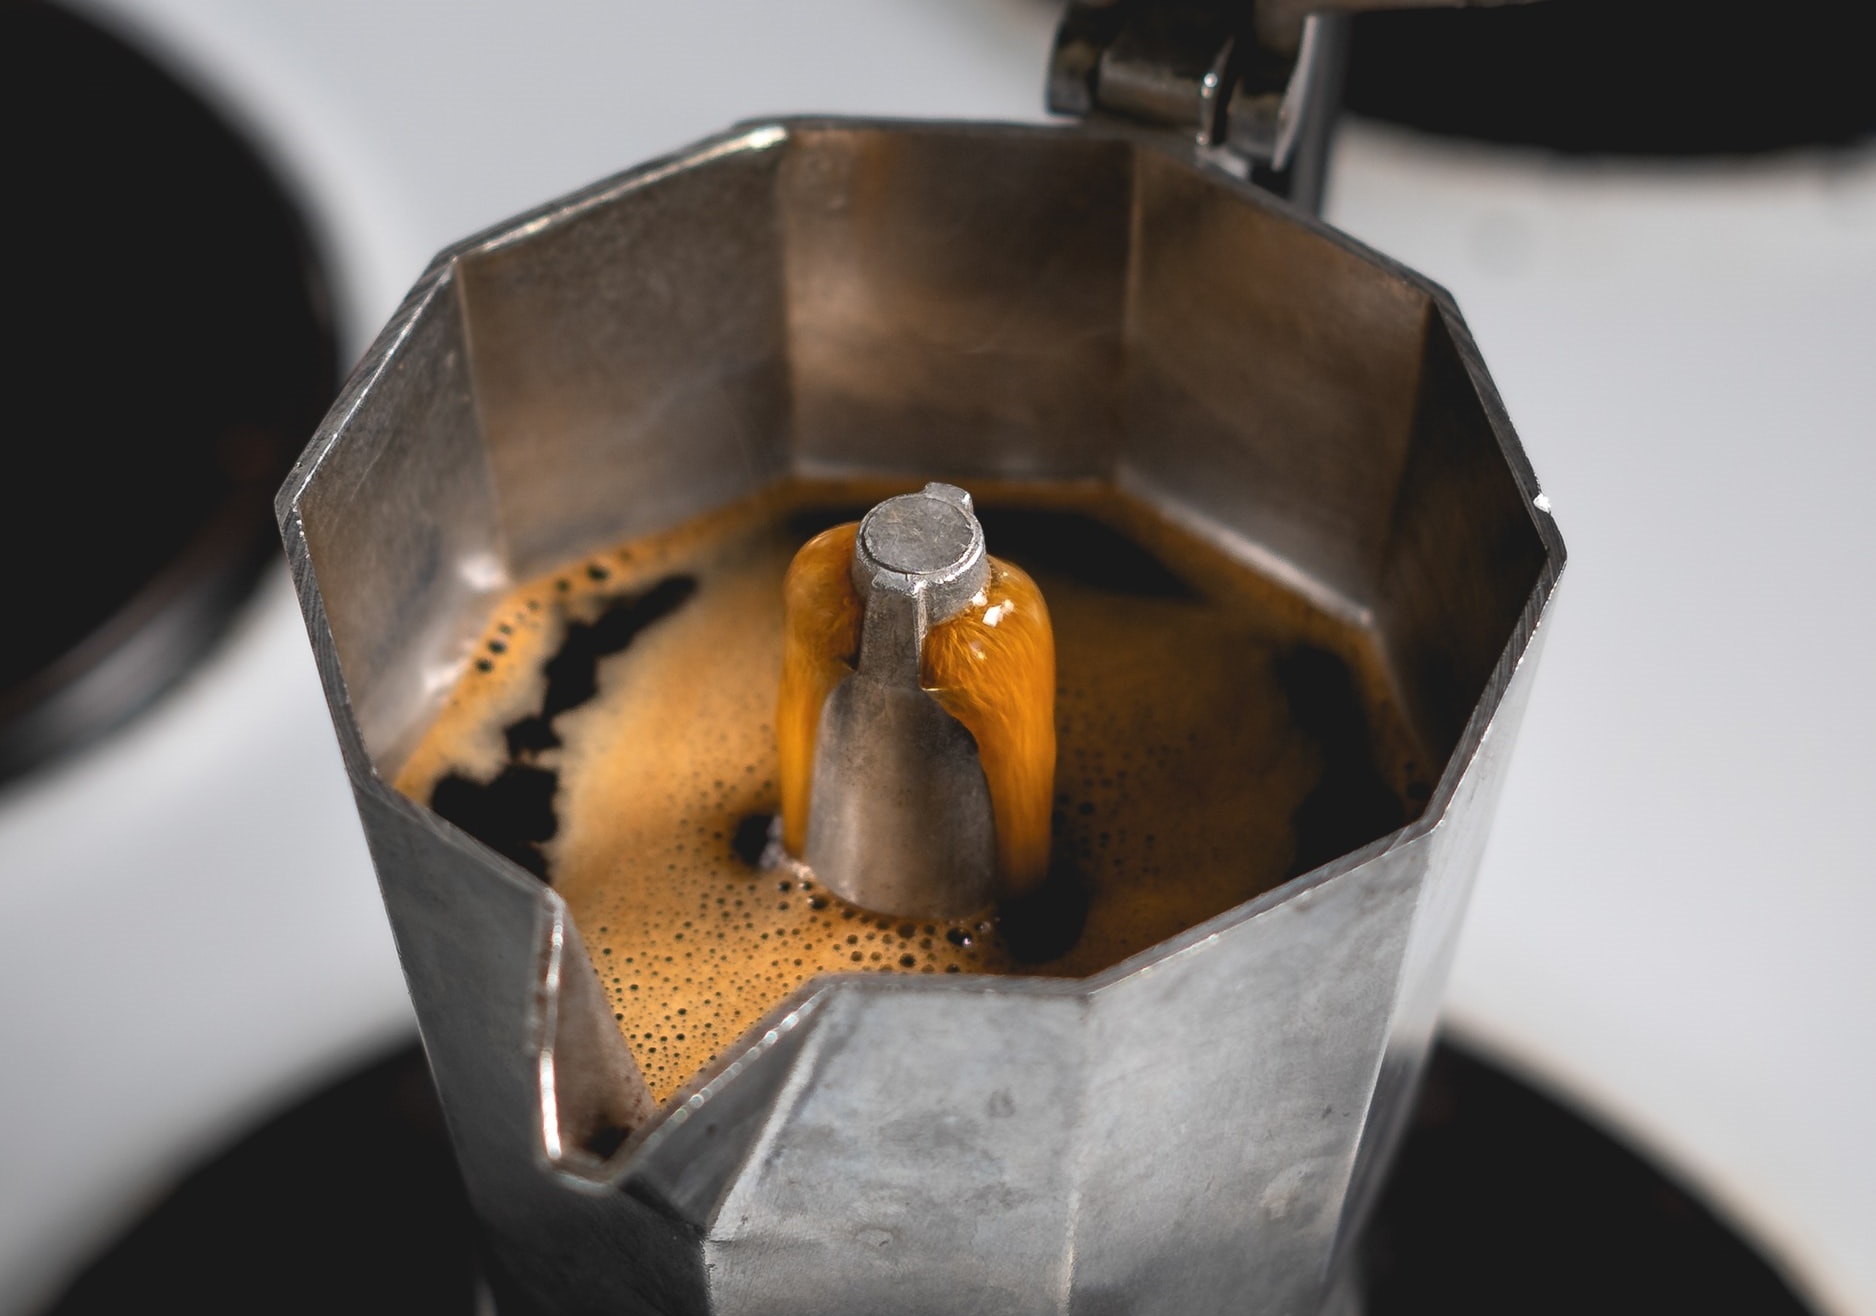
This is as close as you’ll get to espresso coffee without splurging on something that plugs in. Moka pots and stovetops brew under the pressure of boiling water and deliver a ballsy, concentrated coffee “shot” – often served with milk or more hot water. Unfortunately, they have a pretty daggy reputation – your nonna probably used one – for producing a watery, bitter-tasting “hot brown drink” only vaguely reminiscent of coffee. But they can be delicious, if you pay attention to the details. Don’t grind too fine or allow the pot to over-brew, and make sure to wash it thoroughly after each use.
Moka pots and stovetops come in a range of sizes and styles, from the classic to the ridiculous. Some even have inbuilt milk frothers so you don’t have to forego your morning cappuccino.
Method
Coffee: Check your pot’s instructions for how much coffee to use.
Grind: Medium-fine, 4–6 out of 10
- Put the kettle on. Yes, a Moka pot heats water as it brews, but starting with hot water saves time and lessens bitterness in the final cup.
- Fill brew basket with coffee and gently smooth it over. Don’t pack it down.
- Pour water into the bottom half of the pot, to just below the safety valve. Reassemble the brewer.
- Pop it on the stove. Coffee should begin percolating almost immediately.
- Watch and listen. As soon as you hear a slurping, gurgling sound, remove pot from the heat so it doesn’t over-brew.
- As soon as it’s safe (careful, the pot will be hot) decant and serve – short or long, black or white.
Always store your Moka pot disassembled so the rubber seal stays plump.
Moccamaster
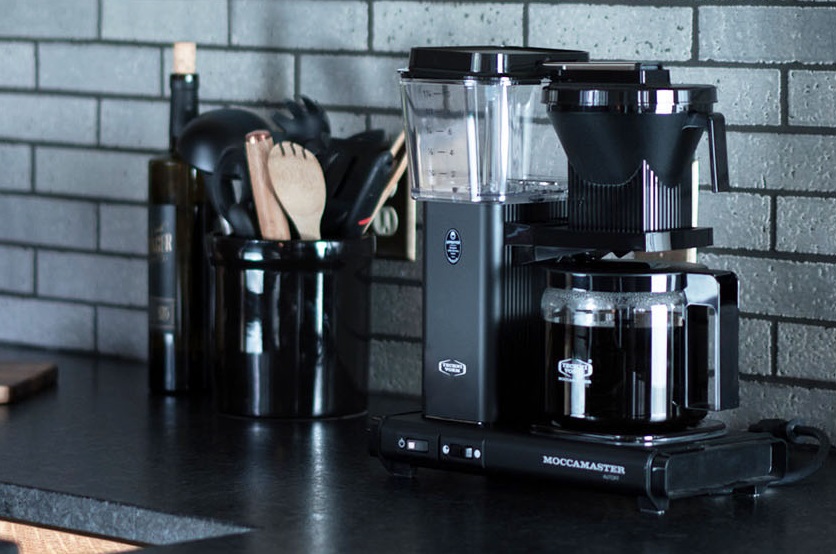
Those living with family or housemates might want to invest in something that brews in bulk – like a Moccamaster, made by Dutch company Technivorm. Once it’s ready, you can cop a slug from the jug as you need.
With that classic percolator look, and available in capacities from one cup to three litres, the Moccamaster is a go-to for cafes looking to serve quality filter coffee on demand (it’s essentially a semi-automated filter-cone system), but it looks just as comfortable on your kitchen bench.
Method
Coffee: The amount depends on the tank capacity of your unit. We recommend 50–60g grams per litre.
Grind: Medium, 5–7 out of 10.
- Fill water reservoir with cold water.
- Place a fresh filter paper into plastic brew basket and rinse it.
- Grind your coffee and add to the filter.
- Lightly shake the brew basket so the coffee is spread evenly.
- Set brew switch to “closed” (X), and pop brew basket into the unit.
- Turn it on.
- Once basket is half-full with water (around 60 seconds), gently break up any clumps with the back of a spoon.
- Set brew switch to “full open” (O).
- Once the brew is finished, swirl the carafe (very important!) and serve.
Chill any leftovers and enjoy them on ice the next day.
This article was updated on June 4, 2021.


